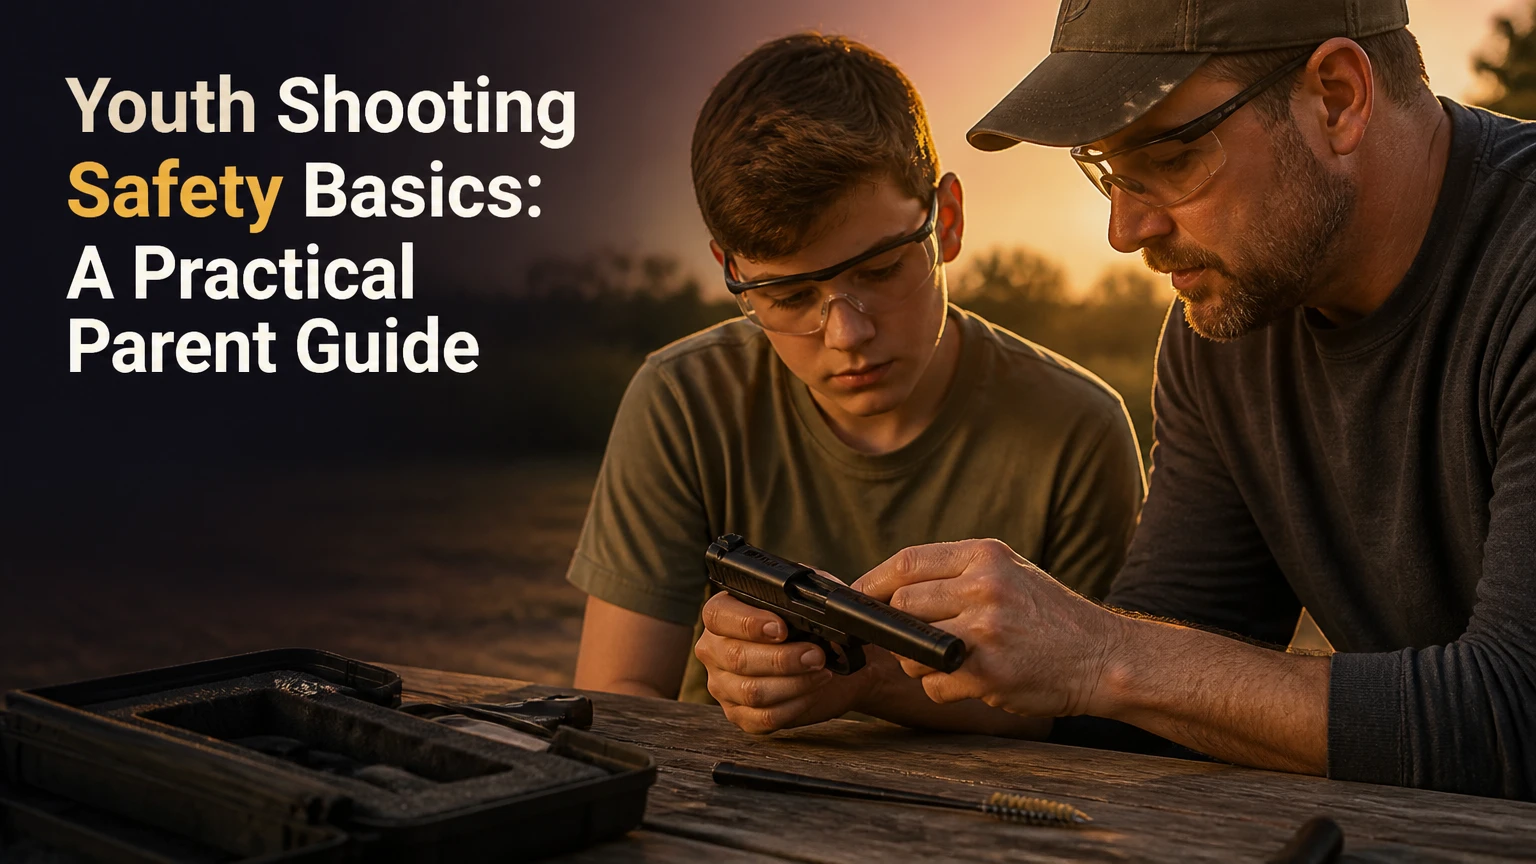
Youth shooting safety basics are the rules, equipment controls, supervision practices, and staged instruction used to prevent firearm injuries while a young person learns responsible handling. The foundation is four rules: assume every firearm is loaded, keep the muzzle in a safe direction, keep the trigger finger outside the guard, and identify the target and what lies beyond it.
Key Facts at a Glance
A firearm should remain under direct adult control whenever a youth is handling it.
A child’s age alone does not establish readiness; judgment, impulse control, communication, and physical fit matter more.
ANSI/ISEA Z87.1-rated eye protection and properly fitted hearing protection are appropriate baseline equipment for range use.
A .22 LR projectile can travel far beyond a typical household property, so a verified backstop is mandatory.
“140 dB” describes a peak impulse reference used in hearing-risk guidance, not a guaranteed safe-versus-unsafe boundary.
Any unsafe muzzle movement, refusal to follow commands, horseplay, or loss of concentration requires an immediate cease-fire.
What Do Youth Shooting Safety Basics Include?
Youth shooting safety basics include four universal handling rules, controlled access, age-appropriate instruction, protective equipment, a safe range environment, and an adult who can intervene immediately. The system must control both mechanical hazards, such as loaded chambers, and behavioral hazards, such as distraction or excitement.
Firearm safety is learned through repeated actions rather than a single lecture. A young person should be able to demonstrate the rules with an unloaded firearm or inert training aid before handling live ammunition. The supervising adult remains responsible for the firearm, ammunition, range commands, and decision to continue.
The National Shooting Sports Foundation states, “Always keep the gun pointed in a safe direction.” That rule applies during loading, unloading, transport, storage, cleaning, and every pause in shooting. A safe direction depends on the location, because a ceiling, floor, wall, or open field may not stop a projectile.
What Are the Four Core Rules?
The four core firearm rules are:
- Treat every firearm as if it is loaded.
A person verifies the condition of a firearm without relying on someone else’s statement. A firearm is handled as loaded until the responsible adult confirms otherwise. - Keep the muzzle pointed in a safe direction.
The muzzle must never cover a person, animal, vehicle, building, or any object the shooter does not intend to damage. - Keep the trigger finger outside the trigger guard until ready to shoot.
The index finger rests straight along the frame or receiver. The trigger is contacted only after the shooter has identified the target and received permission to fire. - Know the target and what lies beyond it.
The shooter must identify the intended target, the backstop, and the area behind and around the backstop. A visible target alone is insufficient.
A useful coaching method is to ask the youth to explain each rule before every new activity. If the answer is incomplete, the activity stops and the adult reteaches that rule.
Is There a Safe Starting Age?
There is no universal safe starting age for firearm instruction. Readiness depends on impulse control, ability to follow a stop command instantly, physical ability to control the platform, interest without coercion, and the supervising adult’s ability to maintain direct control.
A six-year-old who can remain focused and follow instructions may be more ready for a structured safety lesson than an older child who treats the firearm as a toy. Conversely, a mature teenager may still be unready if peer pressure, anger, substance use, or deliberate rule-breaking is present.
| Readiness factor | Minimum observable behavior | Stop condition |
|---|---|---|
| Attention | Follows a 2-step instruction for 10 minutes | Repeated distraction after one correction |
| Impulse control | Freezes and lowers finger when told “stop” | Delayed response or joking during commands |
| Physical fit | Reaches controls without shifting muzzle | Muzzle moves when operating controls |
| Communication | Repeats range commands accurately | Cannot explain “cease fire” |
| Motivation | Chooses training without pressure | Bravado, fear, or peer coercion |
| Fatigue control | Maintains form for 15-20 minutes | Slumping, irritability, or wandering attention |
For children ages 6-10, begin with safety concepts, inert trainers, and short supervised sessions. For ages 11-17, add more responsibility only after consistent demonstrations, never because a birthday has occurred. A supervising adult should reassess readiness at every session.
How Should Training Progress Before Live Fire?
Training should progress from discussion to inert handling, formal range orientation, supervised single shots, and gradual advancement only after the student demonstrates control. A first session commonly takes 45-90 minutes, with live firing limited by attention and fatigue rather than by a preset round count.
Stage 1: Explain the environment
At a table away from ammunition, identify the muzzle, trigger, trigger guard, action, chamber area, and safety control. Explain the range’s commands, including “cease fire,” “range is cold,” and “range is hot.” The student should repeat the commands and describe the required response.
Checkpoint: The student can state the four rules and explain what happens after “cease fire.”
Common mistake: Introducing equipment before establishing the meaning of a safe direction.
Stage 2: Practice with an inert trainer
Use a clearly identified inert trainer or a firearm verified unloaded by the responsible adult. Practice picking up, holding, pointing, placing the finger outside the trigger guard, and setting the item down. Keep live ammunition in a separate location.
Checkpoint: The student performs each movement without muzzle sweeping or trigger contact.
Common mistake: Allowing casual handling because the firearm is unloaded.
Stage 3: Conduct the range orientation
Show the firing line, ready area, cease-fire procedure, loading area, eye and ear protection location, and emergency exits. Explain that the student never crosses the firing line or handles a firearm during a cease-fire unless the range officer permits it.
Checkpoint: The student can point to the safe waiting area and identify the range officer.
Common mistake: Treating the first range visit as a shooting test.
Stage 4: Introduce one supervised shot
The adult controls the firearm and ammunition while the student follows commands. Use the least complex suitable platform and begin with one shot, followed by a complete pause to assess behavior, fit, hearing protection, and emotional response.
Checkpoint: After the shot, the student keeps the muzzle downrange, removes the finger from the trigger, and waits for instructions.
Common mistake: Loading several rounds before confirming safe post-shot behavior.
Stage 5: Advance only after repeated control
Increase activity in small increments, stopping before concentration deteriorates. The student should never progress because other people are shooting faster or because a session has been paid for.
Checkpoint: The student maintains all four rules through loading, firing, pausing, and unloading under direct supervision.
Common mistake: Measuring success by accuracy instead of safe behavior.
Which Platform Fits a Beginner?
A supervised air rifle often offers the lowest noise and recoil, while a properly fitted .22 LR rimfire rifle can provide a more realistic firearm-handling experience; a shotgun generally demands more physical control and produces greater recoil and sound. The best platform is the one the student can control without fatigue and the instructor can secure instantly.
| Platform | Typical sound and recoil | Main training value | Limitation |
|---|---|---|---|
| Spring or pneumatic air rifle | Low sound; minimal recoil | Basic sight alignment and trigger discipline | Pellets can still injure and may penetrate targets |
| CO2 air rifle | Low-to-moderate sound; minimal recoil | Repeated supervised practice | Gas performance changes with temperature |
| .22 LR rifle | Approximately 120-140 dB peak at the shooter’s position, depending on firearm and ammunition; low recoil | Standard rimfire handling and marksmanship | Projectile can travel over 1 mile under some conditions |
| 20-gauge shotgun | Approximately 155-165 dB peak; noticeable recoil | Hunting or clay-target context | Stock fit, recoil, and muzzle control are demanding |
| 12-gauge shotgun | Approximately 155-165 dB peak; high recoil | Adult-oriented shotgun applications | Usually a poor first platform for a small beginner |
The decibel values are typical field ranges, not guarantees. Firearm sound varies with ammunition, barrel length, location, and measurement method. The American Academy of Pediatrics recommends hearing protection for children exposed to loud recreational activities, and NIOSH uses 140 dB peak as an impulse-noise reference for preventing hazardous exposure. No single number makes gunfire safe for unprotected ears.
A .22 LR rifle is low recoil compared with centerfire rifles and shotguns, but “low recoil” does not mean low risk. It still requires a suitable backstop, eye protection, hearing protection, correct ammunition, and direct supervision.
What Equipment Is Required?
Required equipment includes properly rated eye protection, hearing protection, a firearm that fits the student, compatible ammunition controlled by the adult, and a range with a verified backstop. Electronic earmuffs can improve communication, but they do not replace correctly fitted passive protection or safe range commands.
| Equipment | Typical US price | Minimum specification | Fit or control check |
|---|---|---|---|
| Impact-rated eye protection | $10-$35 | ANSI/ISEA Z87.1 marking | Lenses cover the eyes without sliding |
| Electronic earmuffs | $30-$80 | Child-sized seal and adjustable headband | Both ears remain covered during movement |
| Foam earplugs | $5-$15 per pack | Correct size and insertion | Adult verifies seal before shooting |
| Youth .22 LR rifle | $180-$350 | Manual and stock sized for the student | Finger reaches controls without shifting muzzle |
| Air rifle | $40-$120 | Manufacturer-approved pellets or BBs | Muzzle remains controlled while cocking |
| Locked storage container | $40-$200 | Rigid lockable construction | Youth cannot access key, code, or backup key |
A short length of pull may improve control, but a compact stock is not automatically safe. The student must shoulder the firearm without stretching, collapsing the wrist, or lifting the head far from the stock. An adult should ask a qualified instructor or manufacturer for fit guidance.
Eye protection should remain on while anyone nearby is shooting. Hearing protection should be worn before entering the firing area and kept on until the range is declared quiet. Glasses, headphones, and inexpensive novelty earmuffs may fail to provide adequate impact or noise protection.
How Should Adults Supervise?
Adults should maintain direct physical and visual control, give one command at a time, keep ammunition under adult control, and stop the session at the first unsafe action. One adult should supervise one beginner whenever possible, especially during the first live-fire session.
The adult should stand in a position that permits immediate control of the firearm without crossing the muzzle. A second child should wait behind the firing line, away from the firearm and ammunition. Adults should avoid simultaneous phone use, conversation, photography, or coaching multiple shooters while supervising a beginner.
Use consistent commands:
- “Muzzle downrange.”
- “Finger straight.”
- “Stop.”
- “Cease fire.”
- “Action open.”
- “Set it down.”
The student should repeat or acknowledge commands when the range environment is loud. Electronic hearing protection helps communication, but the adult should still use agreed hand signals and move close enough to be heard.
What Emergency Plan Should a Family Have?
A family should know the range address, emergency number, first-aid location, range officer’s procedure, and exact response to a misfire or injury before shooting begins. The adult should not improvise during a stressful event.
For a suspected misfire, keep the muzzle pointed safely downrange, keep the finger away from the trigger, and follow the firearm manual or range officer’s waiting and clearing procedure. Do not open, inspect, or manipulate the action impulsively. If a firearm malfunctions, stop using it and request qualified assistance.
For an injury, announce “cease fire,” keep all firearms pointed safely and secured as directed, notify range staff, call emergency services, and provide first aid only within the adult’s training. A child should never be assigned responsibility for clearing a malfunction or managing an injury.
How Should Firearms Be Stored Around Children?
Firearms should be unloaded, locked in a secure container, and inaccessible to unauthorized people, with ammunition locked separately when practical and keys or access codes controlled by responsible adults. Storage must apply at home, during transport, and at temporary locations such as campsites.
The CDC’s 2023 Youth Risk Behavior Survey reported that 22.2% of US high school students had seriously considered attempting suicide in the previous year, and 10.4% had attempted suicide. Those figures reinforce why secure storage and temporary removal of access matter during a mental-health crisis, regardless of whether a youth has received safety training.
| Storage situation | Required control | Failure to avoid |
|---|---|---|
| Home, firearm unused | Locked safe or lockbox | Unlocked drawer or closet |
| Home, ammunition stored | Separate locked container when feasible | Ammunition in an accessible bedside table |
| Vehicle transport | Unloaded, secured, and compliant with local law | Loose firearm under a seat |
| Temporary lodging | Locked container under adult control | Suitcase zipper or hotel nightstand |
| Youth training session | Adult retains ammunition and access control | Student receiving unsupervised access |
A cable lock or chamber lock can add a layer of control, but no lock substitutes for a locked container and controlled keys. Storage requirements vary by jurisdiction, and local law may impose specific transport or locking rules.
What Does a Safe Start Cost?
A typical supervised entry cost is approximately $100-$300 when a family uses a range rental, basic protective equipment, and instructor time, while purchasing a youth rimfire rifle and storage can raise the initial total to roughly $300-$800. Local range fees, ammunition prices, instruction, and legal requirements change the total.
| Cost category | Typical range | Timing | Often overlooked |
|---|---|---|---|
| Introductory instruction | $50-$150 | One session | One-to-one surcharge |
| Range admission | $15-$40 per person | Per visit | Youth and spectator fees |
| Air rifle rental or use | $10-$30 | Per session | Pellet or BB cost |
| .22 LR ammunition | $8-$20 per 100 rounds | Per box | Availability and transport |
| Eye and hearing protection | $40-$115 | Initial purchase | Child growth and replacement |
| Secure storage | $40-$200 | Initial purchase | Backup access control |
Families should budget for safe supervision before buying a firearm. An inexpensive firearm stored poorly or used at an unsuitable range is a worse safety choice than a rental used under certified instruction.
How Do You Choose a Youth Shooting Program?
Choose a program that requires eye and hearing protection, teaches the four rules before live fire, limits beginner supervision ratios, verifies range commands, and allows the instructor to stop participation without pressure. A recognized instructor credential helps, but the program’s actual procedures matter more than its advertising.
Ask these questions before booking:
- What is the adult-to-student ratio for a first live-fire session?
- Does the range provide youth-sized eye and hearing protection?
- Are firearms unloaded and secured during classroom instruction?
- Who controls ammunition and loading?
- What is the procedure for a misfire or unsafe behavior?
- Does the range permit parents to observe and participate in safety briefings?
- What platform, ammunition, and backstop does the program use?
- Are age, consent, transport, and supervision rules documented?
- Does the instructor have current first-aid or emergency-response training?
- Can the family stop without penalty if the student becomes distressed?
A good program will answer these questions directly. It will not frame discomfort, fear, or hesitation as weakness.
What Unsafe Behaviors Require an Immediate Stop?
Unsafe behavior requires an immediate cease-fire when the muzzle leaves the safe direction, the trigger finger enters the guard without permission, the student ignores a command, the firearm is handled during a cease-fire, or the student shows distraction, horseplay, anger, or panic. The adult should secure the firearm before discussing the mistake.
How Do You Handle the “Excitement Turn”?
The “excitement turn” is an unsafe movement in which a youth rotates toward another person after a shot while still holding the firearm. The response is an immediate clear command, physical control by the supervising adult when necessary, unloading under range procedure, and removal from live fire for retraining.
Do not praise the hit before correcting the muzzle movement. Accuracy never offsets unsafe handling. Return to an inert trainer and rehearse the sequence: keep the muzzle downrange, remove the trigger finger, wait for the adult, and only then communicate excitement.
A second occurrence should normally end the live-fire session. The student may resume on another day after demonstrating the entire post-shot sequence repeatedly without ammunition.
How Can an Instructor Identify Flinching?
An instructor can identify flinching through inconsistent movement, closing the eyes before discharge, tightening the grip, or pushing the firearm downward. Controlled dummy-round drills can reveal anticipation, but only a qualified adult should prepare them and maintain complete separation and accounting of live and inert ammunition.
Never place an unidentified cartridge into a firearm or allow a child to handle mixed ammunition independently. The adult must follow the firearm manual, range rules, and an established loading procedure. In many beginner sessions, the safer response to flinching is to stop live fire, reduce noise exposure, check fit, and return to inert practice.
Flinching can indicate excessive noise, recoil, poor stock fit, fear, fatigue, or pressure to continue. Correct the cause rather than demanding that the student “toughen up.”
When Should Training Stop?
Training should stop immediately for unsafe handling, uncontrolled emotion, hearing-protection failure, physical fatigue, pain, repeated command errors, or any concern that the youth is participating under pressure. Stopping is a safety decision, not a performance judgment.
A child does not need to become comfortable with firearms. Firearm-free safety education, inert trainers, range observation from a protected area, and supervised non-firearm activities are valid alternatives. A youth who is anxious, impulsive, angry, grieving, intoxicated, sleep-deprived, or seeking approval should not handle a firearm.
Adults should also stop when supervision quality declines. A tired parent, crowded range, malfunctioning hearing protection, poor lighting, or uncertain backstop can make a normally manageable activity unacceptable.
Which Platform Is Best for Common Situations?
An air rifle is generally the most manageable starting platform for basic marksmanship in a suitable controlled environment, a .22 LR rifle fits many formal rimfire programs, and a shotgun should usually wait until the student has the size, strength, and purpose-specific instruction to control it.
| Situation | Preferred option | Reason | Do not use it when |
|---|---|---|---|
| First lessons for a small child | Supervised air rifle | Low recoil and lower report | The range lacks a safe pellet backstop |
| Formal junior rifle program | Fitted .22 LR rifle | Standardized rimfire training | The student cannot control the stock or commands |
| Hunting preparation | Platform required by local game rules | Relevant field skills | The youth has not mastered safe transport and unloading |
| Clay-target introduction | Properly fitted lightweight shotgun | Matches the activity | Recoil causes flinching or muzzle loss |
| Home safety education | Inert trainer and locked-storage lesson | No live projectile | A real firearm is used as a teaching prop |
| Competitive junior pathway | Coach-selected match platform | Consistent fit and rules | Equipment pressure replaces safety training |
The best platform is not the most powerful one. It is the platform that preserves muzzle control, hearing protection, physical comfort, and clear communication throughout the session.
What Common Mistakes Do Adults Make?
The most common adult mistakes are treating an unloaded firearm casually, prioritizing marksmanship over handling, allowing too much ammunition access, ignoring poor fit, and continuing after the student’s attention has deteriorated. Each error increases risk before a shot is fired.
- Teaching only the rules verbally: Require demonstrations with an inert trainer.
- Starting with a powerful platform: Select for controllability, not adult preference.
- Loading multiple rounds immediately: Begin with one supervised shot and a behavior check.
- Using adult-sized protective equipment: Verify seals, lens coverage, and stable fit.
- Assuming a safety lever prevents accidents: The four rules still apply when the mechanical safety is engaged.
- Letting siblings or friends crowd the firing line: Keep observers behind the designated line.
- Using a target without a verified backstop: Confirm what is behind and beyond the target.
- Continuing after an unsafe turn: End live fire, secure the firearm, and retrain.
One practitioner rule is especially useful: the adult should make the safety decision before the youth reaches the point of failure. Short sessions prevent more problems than late corrections.
What Are the Legal and Ethical Limits?
Legal requirements for youth possession, transport, hunting, range access, parental consent, and storage differ by country, state, and municipality. Families should verify current rules with the relevant state wildlife agency, range, law-enforcement authority, or licensed attorney before transporting or using a firearm.
Ethically, a youth should be able to decline participation without ridicule or loss of approval. Instruction should never use a firearm to test courage, settle a dispute, create social status, or pressure a reluctant child.
Parents should also account for developmental and accessibility needs. Vision correction, hearing differences, limited reach, motor impairments, neurodivergence, and medication effects can change the supervision plan. A qualified instructor can adapt the environment, but no adaptation removes the need for direct control.
Frequently Asked Questions
Should children practice firearm safety at home?
Children can practice safety concepts at home with an unmistakably inert trainer, a supervised educational model, or a verified unloaded firearm handled only by the adult under a controlled procedure. Live ammunition should remain absent from the lesson. Home practice must never normalize unsupervised access or casual handling.
Are BB guns safe for children?
BB guns are not harmless toys. A BB can injure an eye, penetrate skin, or damage property, so the user needs eye protection, a suitable backstop, adult supervision, and locked storage. Air guns also require the same muzzle, trigger, target, and access-control rules used for firearms.
Should a youth learn with a pistol or rifle?
A properly fitted rifle is often easier for a beginner to stabilize because it has two points of contact and a shoulder stock. A pistol is smaller but demands greater muzzle and grip control. The instructor should select the platform based on the student’s purpose, size, training environment, and ability to follow commands.
How long should a first shooting session last?
A first session commonly lasts 45-90 minutes including instruction, equipment checks, range orientation, pauses, and cleanup, while actual live firing may take only a few minutes. End the session when concentration or comfort declines, even if the scheduled range time remains.
Can a teenager supervise a younger child?
A teenager should not replace a capable adult supervisor unless local law, range policy, and the program’s written procedures explicitly permit it. A supervising person must be able to control the firearm, recognize unsafe behavior, issue commands, contact emergency services, and make an immediate stop decision.
What should a youth do if the firearm does not fire?
The youth should keep the muzzle pointed safely downrange, keep the finger outside the trigger guard, and wait for the adult or range officer. The youth should not open the action, look into the muzzle, remove ammunition, or attempt another shot without qualified direction and the range’s misfire procedure.
The Bottom Line
Youth shooting safety basics are a complete control system, not a four-rule slogan. Start with readiness and inert practice, use correctly fitted protection, choose a controllable platform, supervise one beginner closely, secure firearms and ammunition, and stop immediately when behavior or conditions become unsafe. The safest session is the one that ends before control deteriorates.


