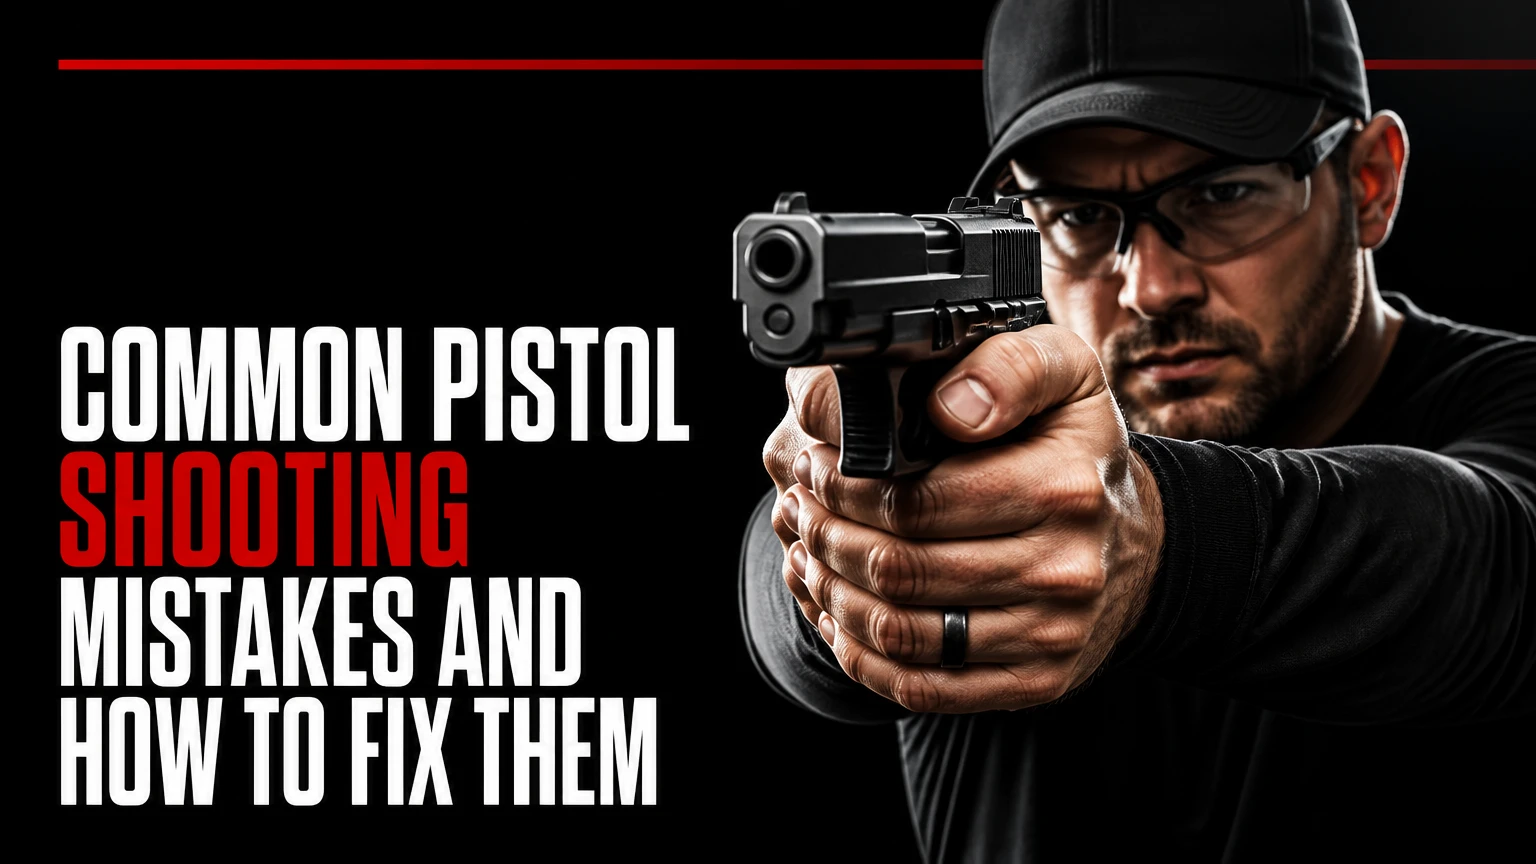
Common pistol shooting mistakes usually come from four linked problems: recoil anticipation, inconsistent trigger control, an unstable two-hand grip, or incorrect sight use. A target pattern can suggest the cause, but no low, left, or scattered group proves one error by itself. Safe diagnosis combines unloaded practice, controlled live fire, equipment checks, and coaching.
Key Facts at a Glance
Recoil anticipation often moves the pistol before the shot breaks, producing low impacts or enlarged groups.
Trigger movement can shift the muzzle before ignition, especially when the shooter tightens the gripping fingers at the same time.
A modern two-hand grip should maximize contact with the frame while leaving the dominant index finger able to press independently.
Sight alignment describes the relationship between the sights; sight picture describes the sights in relation to the target.
A low-left group for a right-handed shooter is a clue, not a diagnosis, because stance, sights, ammunition, and distance can create the same pattern.
Dry fire is useful only after the pistol is unloaded, the ammunition is removed from the room, and the manufacturer permits the practice.
What Are the Most Common Pistol Shooting Mistakes?
The most common pistol shooting mistakes are flinching, jerking the trigger, gripping inconsistently, misusing the sights, and changing technique between shots. Secondary problems include an unstable stance, poor visual focus, firing faster than the shooter can control, incorrect optic zero, and blaming the shooter for mechanical or ammunition issues.
These errors interact. A shooter who expects recoil may tighten the support hand, dip the muzzle, and then snatch the trigger when the front sight appears aligned. Treating those movements as separate faults can produce contradictory coaching.
Accuracy also has two dimensions. Precision is the tightness of a group, while accuracy is how close that group is to the intended point of impact. A tight group several inches from the center may indicate a sight or zero issue rather than poor trigger control.
Which mistakes deserve attention first?
Safety and gun control come first, followed by a repeatable grip and trigger press. Sight refinement and speed should come later, because a shooter cannot diagnose small sight errors while the pistol moves substantially during the trigger press.
A useful priority order is:
- Verify safe handling and pistol function.
- Build the same grip before every shot.
- Press the trigger without disturbing the sights.
- Confirm the sight picture and zero.
- Increase distance and speed only after groups remain stable.
Why Do Shooters Flinch or Anticipate Recoil?
Recoil anticipation occurs when the shooter braces for the report and rearward movement before the projectile exits the barrel. The response may include blinking, tightening the arms, pushing the hands forward, dipping the muzzle, or holding the breath, and each movement can change point of impact.
The movement is often subconscious. The shooter may feel a normal recoil impulse and assume the physical reaction happened afterward, although a high-speed camera or inert-round drill can reveal movement before ignition.
Ammunition intensity, pistol size, noise, previous discomfort, and an overly ambitious practice pace all affect anticipation. A lightweight compact pistol firing defensive ammunition can expose the problem more quickly than a full-size pistol with mild target ammunition.
How can you reduce flinching safely?
Reduce recoil exposure, remove the expectation of a live shot, and demand a motionless sight reference during unloaded practice. Ten careful repetitions with a relaxed grip are more useful than fifty rushed repetitions that reinforce a pre-shot push.
Use this sequence:
- Have a qualified instructor confirm the pistol is unloaded.
- Move all ammunition away from the dry-fire area.
- Follow the owner’s manual regarding dry fire and snap-cap use.
- Aim at a safe backstop or approved dry-fire direction.
- Press the trigger while watching the front sight or optic dot.
- Stop when fatigue causes visible movement.
A ball-and-dummy drill can help at a supervised range. A competent instructor or partner prepares the pistol without revealing whether a chamber or magazine position contains a live round or an approved inert training device. The shooter must follow all range rules, keep the muzzle pointed safely, and stop immediately if a firearm condition is uncertain.
The drill is diagnostic, not a contest. If the pistol dips on an inert presentation, the shooter has evidence of anticipation. If it does not, another cause deserves investigation.
How Does Trigger Control Affect Pistol Accuracy?
Trigger control affects accuracy because the trigger finger can move the pistol before the shot breaks. A smooth press applies continuous rearward pressure while the sights remain acceptably aligned; a sudden yank, sideways press, or uncontrolled reset can rotate the muzzle and widen the group.
The correct contact point is pistol-dependent. Many shooters begin with the center pad of the index finger, but trigger reach, hand size, trigger shape, and double-action or single-action geometry may require a different position. A universal rule about the exact finger joint is less reliable than observing whether the sights remain stable.
Trigger weight also varies widely. Typical striker-fired service pistols may measure about 4.5-7 pounds, while competition pistols can be lighter, and double-action first pulls may exceed 8 pounds. The manufacturer’s specification and a qualified gunsmith’s measurement matter more than a generic ideal.
What is trigger slapping?
Trigger slapping occurs when the finger loses controlled contact during reset and strikes the trigger again rather than allowing a deliberate reset and press. The fault commonly appears during rapid fire, when the shooter tries to outrun the trigger or recover the sights.
Practice the reset without chasing speed. In dry fire, press the trigger, maintain safe control, slowly cycle the action as permitted by the manual, and feel the reset. During live fire, use a cadence that allows the sights to return and the trigger finger to work independently.
Dominant-hand pressure can also cause lateral movement. If the lower three fingers tighten every time the index finger presses, the pistol may move left for a right-handed shooter or right for a left-handed shooter. That pattern is common, but it is not conclusive.
Is Your Grip Causing the Shooting Problem?
An inconsistent grip changes the pistol’s orientation, recoil path, and trigger reach from shot to shot. A strong modern two-hand grip places the dominant hand high on the backstrap, fills the grip with the support hand, and applies pressure without preventing the trigger finger from moving independently.
The dominant hand establishes control and trigger access. The support hand should cover exposed grip surface, with the heel of the support palm contacting the frame rather than leaving a visible gap.
A common practical starting point is more pressure from the support hand than the dominant hand, sometimes described as roughly 60 percent support hand and 40 percent dominant hand. Those numbers are training estimates, not a measurable standard. Hand size, pistol texture, recoil level, and trigger design change the best balance.
What does a modern thumbs-forward grip require?
A thumbs-forward grip generally points both thumbs toward the target while the support hand rotates forward around the grip. The method gives the support palm more surface contact and helps resist muzzle rotation, but it is not identical for every pistol or hand size.
Check four physical points:
- The dominant-hand web sits high under the beavertail without touching moving parts.
- The support palm fills the open panel on the opposite side.
- The fingers wrap consistently without changing trigger access.
- The thumbs avoid the slide, slide stop, cylinder gap, and other moving components.
Crossed thumbs may be appropriate for some revolver users, but copying a revolver grip onto a semi-automatic pistol can reduce support-hand contact. A grip that looks technically correct but activates a slide-stop lever or causes discomfort needs adjustment.
Can a weak grip cause malfunctions?
A weak or shifting grip can contribute to failures to eject or feed, especially when the shooter’s wrists allow excessive movement during recoil. “Limp-wristing” is not the only possible cause, so inspect ammunition, magazines, lubrication, recoil springs, and the pistol itself before assigning blame.
A malfunction is also a safety event. Keep the muzzle in a safe direction, keep the finger off the trigger, and follow the range’s stoppage procedure. Do not diagnose a mechanical problem by repeatedly firing an unreliable pistol without an instructor or gunsmith.
Are Sight Alignment and Sight Picture Different?
Sight alignment is the relationship between the front and rear sights, while sight picture is the aligned sight system placed against the target. With conventional iron sights, the shooter normally focuses on the front sight, keeps its top level with the rear sight, and maintains equal visible gaps on both sides.
A front sight that is slightly misaligned creates an angular error that grows with distance. The effect depends on sight radius and the size of the misalignment, so dramatic claims that one specific fraction of an inch always causes a complete miss are unreliable without stating the pistol, distance, and target dimensions.
Red dots change the visual task but do not remove fundamentals. The shooter no longer aligns front and rear sights, yet the dot still requires a consistent presentation, a confirmed zero, and a stable trigger press.
| Sight system | Primary visual focus | Common error | Practical check |
|---|---|---|---|
| Iron sights | Front sight, target less sharp | Unequal light gaps or uneven top edges | Confirm front sight remains centered |
| Enclosed red dot | Target and dot relationship | Dot absent during presentation | Confirm dot appears without tilting |
| Open red dot | Target and dot relationship | Window obstruction or glare | Check dot at normal shooting angle |
| Fixed defensive sights | Front sight and hold point | Point-of-impact mismatch | Confirm zero at the intended distance |
Are red dots easier than iron sights?
Red dots can simplify sight alignment for many shooters, especially at longer distances or with aging eyesight, but they can initially expose presentation problems. Iron sights often provide a clearer mechanical reference during basic instruction, while a red dot requires a properly mounted, functional, and zeroed optic.
Neither system fixes flinching or trigger movement. A dot that jumps during the press makes the disturbance easier to see.
What Does the Target Pattern Actually Mean?
A target pattern provides clues when the distance, ammunition, pistol, stance, and shooting cadence are controlled. Low-left impacts for a right-handed shooter and low-right impacts for a left-handed shooter often correlate with trigger disturbance or anticipation, but clock charts should begin an investigation rather than end one.
Use a small group, not a single hole. Five to ten deliberate shots at a known distance provide more useful information than one impact, and a second shooter using the same pistol can help separate equipment error from shooter error.
| Target pattern | Possible shooter causes | Non-shooter causes | First check |
|---|---|---|---|
| Tight group, consistently low | Hold, front-sight focus, anticipation | Sight height, ammunition point of impact | Confirm zero and sight picture |
| Low-left for right-handed shooter | Trigger disturbance, grip tightening, anticipation | Stance or grip interface | Use dry-fire sight check |
| Wide group in every direction | Changing grip, visual focus, pace | Poor ammunition, loose optic | Slow cadence and inspect equipment |
| Horizontal spread | Trigger contact, wrist rotation | Wind is usually irrelevant at short range | Compare two trigger-finger positions |
| Vertical string | Breathing, changing sight elevation, recoil timing | Ammunition variation | Slow shots and use a stable reference |
| One or two unexplained hits | Break in process, flinch, distraction | Damaged ammunition or optic movement | Repeat with known ammunition |
A pistol that groups well for an instructor but poorly for the owner points toward technique or fit. A pistol that groups poorly for everyone may need inspection, sight adjustment, or a different ammunition load.
Which Diagnostic Tools Are Worth Using?
The most useful tools are simple: a safe dry-fire setup, an approved inert training device, a camera, and a qualified observer. Laser cartridges and electronic trainers can add feedback, but they cannot determine whether a shooter’s fundamentals transfer to live recoil.
| Tool | Typical cost | Best use | Main limitation |
|---|---|---|---|
| Approved snap caps | $10-$30 | Reset practice and supervised inert-round drills | Quality and model fit vary |
| Smartphone video | $0-$500 | Detecting muzzle or wrist movement | Camera angle can mislead |
| Laser training cartridge | $30-$150 | Confirming trigger movement and point aim | Does not reproduce recoil |
| Electronic shot trainer | $100-$300 | Tracking movement and cadence | Sensors require calibration |
| Instructor session | $75-$200 per hour | Separating technique from equipment faults | Quality varies by instructor |
A video from the side can reveal forward movement or excessive wrist flexion. A video from behind the shooter can reveal inconsistent presentation, but recording must never compromise muzzle awareness or range rules.
The National Rifle Association’s standard safety language states, “Keep your finger off the trigger until your sights are on the target and you have made the decision to fire.” Diagnostic practice cannot override that rule.
What Is the Most Efficient Correction Routine?
A balanced correction routine uses about 10 minutes of unloaded practice and 20-40 carefully controlled live rounds, with the exact amount reduced if fatigue or poor concentration appears. The main success measure is repeatable sight behavior, not the number of rounds fired.
Step 1: Confirm the pistol and environment
Unload the pistol according to its manual, remove magazines, inspect the chamber, and move ammunition outside the practice area. During live fire, use eye and ear protection, an approved backstop, and a qualified range instructor when learning.
Success checkpoint: You can state the pistol’s condition and demonstrate safe muzzle and trigger-finger control.
Step 2: Build the grip before aiming
Place the dominant hand high, add the support hand to fill the open grip surface, and confirm that both hands return to the same location. Do not force a grip that contacts the slide or prevents reliable operation.
Success checkpoint: The pistol returns to the same orientation after each reset.
Step 3: Press the trigger slowly
Use a pace that keeps the front sight or dot stable. Do not wait for a perfect instant and then snatch the trigger, because that creates the very disturbance the drill is intended to remove.
Success checkpoint: The sight does not visibly jump at the break during dry fire.
Step 4: Confirm with reduced-pressure live fire
Start at a short, controlled distance with a target large enough to show grouping. Fire one round at a time, pause, rebuild the grip, and record the group rather than trying to increase speed.
Success checkpoint: The group remains centered or shows a repeatable, explainable offset.
Step 5: Add cadence only after consistency
Increase speed in small increments while tracking whether the sights return predictably. If the group opens sharply, return to the last pace that produced control.
Success checkpoint: Follow-up shots remain within the intended scoring area without rushed trigger movement.
What Other Mistakes Are Commonly Missed?
Shooters often blame trigger control when the real issue is pistol fit, visual correction, distance, or an optic that is not zeroed. A technically sound press cannot compensate for a rear sight that is displaced or a grip that changes because the backstrap is too large.
Stance matters less than many beginners are told, but balance still matters. A forward, relaxed athletic posture helps the shooter manage recoil, while locked knees, excessive leaning, or a rigid upper body can make recovery inconsistent.
Breathing should not become another source of tension. Let the shot occur during a natural respiratory pause rather than holding the breath through a long string. Prescription lenses, dominant-eye issues, poor lighting, and an unfocused front sight can also enlarge groups.
Pace is frequently the hidden variable. A shooter may perform well at one round every five seconds and lose control at one round per second, even though the pistol and ammunition have not changed.
How Should Practice Change by Shooter?
Beginners should use a manageable full-size or compact pistol, mild ammunition, and direct supervision. Concealed-carry users need consistent presentation from their approved holster and must follow local laws and range rules. Competitive shooters can add speed, but only after the grip and sight return remain predictable.
| Shooter profile | Primary goal | Suitable starting distance | Useful feedback |
|---|---|---|---|
| New shooter | Safe grip and trigger press | 3-5 yards | Instructor observation and small groups |
| Recreational owner | Consistent accuracy | 5-10 yards | Target records and phone video |
| Concealed-carry student | Safe presentation and first-shot control | 3-7 yards | Certified instructor and holster review |
| Competitive shooter | Recoil tracking and cadence | 7-15 yards | Shot timer, video, stage-relevant drills |
| Older or vision-limited shooter | Clear sight confirmation | 3-10 yards | Optic assessment and eye examination |
A smaller pistol is not automatically a better carry or training choice. Short grips, low weight, and heavy recoil can reduce practice quality, particularly for a new shooter who has not developed a stable grip.
When should you hire an instructor?
Hire a qualified firearms instructor when the same error persists after controlled practice, when malfunctions recur, or when you are uncertain about safe loading, unloading, holster use, or dry-fire procedures. A competent instructor should observe the shooter, inspect the setup, and explain the correction rather than merely label the error.
Instruction is especially valuable when a shooter reports pain, fear, or loss of control. More ammunition is not a substitute for resolving those problems.
FAQ
Why am I shooting low-left with a pistol?
A low-left group for a right-handed shooter often results from trigger disturbance, grip tightening, or recoil anticipation, while a left-handed shooter may produce the mirrored low-right pattern. Confirm the result with several deliberate shots, then check the pistol’s sights, ammunition, grip fit, and another shooter before changing technique.
How much dry fire should a beginner do?
A beginner can start with 5-10 minutes per session, two to four times weekly, provided the pistol is unloaded, ammunition is removed, and the manufacturer permits dry fire. Stop when the front sight moves or concentration fades. Quality repetitions matter more than a large daily count.
Is a heavy trigger causing inaccurate pistol shots?
A heavy trigger can make a clean press more demanding, especially for small hands or a short trigger reach, but trigger weight alone does not prove the cause. First verify grip, finger placement, and sight stability, then ask a qualified instructor or gunsmith to evaluate the pistol.
Why are my pistol groups scattered everywhere?
Scattered groups commonly indicate that the shooter changes grip, visual focus, trigger pace, or aiming reference between shots. Equipment can produce the same result when an optic is loose, ammunition is inconsistent, or the pistol has a mechanical fault. Slow down, use one load, and compare results with an instructor.
Are shooting clock charts reliable?
Shooting clock charts are useful pattern-recognition aids, not diagnostic proof. Impact direction changes with handedness, stance, pistol design, sight zero, distance, and trigger geometry. A controlled group plus dry-fire observation gives more reliable evidence than assigning one mechanical fault to every location on a target.
Can a red dot eliminate common pistol shooting mistakes?
A red dot can reduce the alignment task associated with iron sights, but it cannot eliminate flinching, trigger disturbance, poor grip, bad presentation, or an incorrect zero. Shooters must still manage recoil, press the trigger independently, and confirm that the optic remains mounted and functional.
The Bottom Line
Common pistol shooting mistakes are best corrected through controlled diagnosis rather than target-chart guesses. Establish safe handling, repeat the same grip, press the trigger without disturbing the sights, confirm the pistol’s zero, and increase speed only when the group and sight movement remain consistent. When errors persist, use an instructor to separate technique from equipment.


