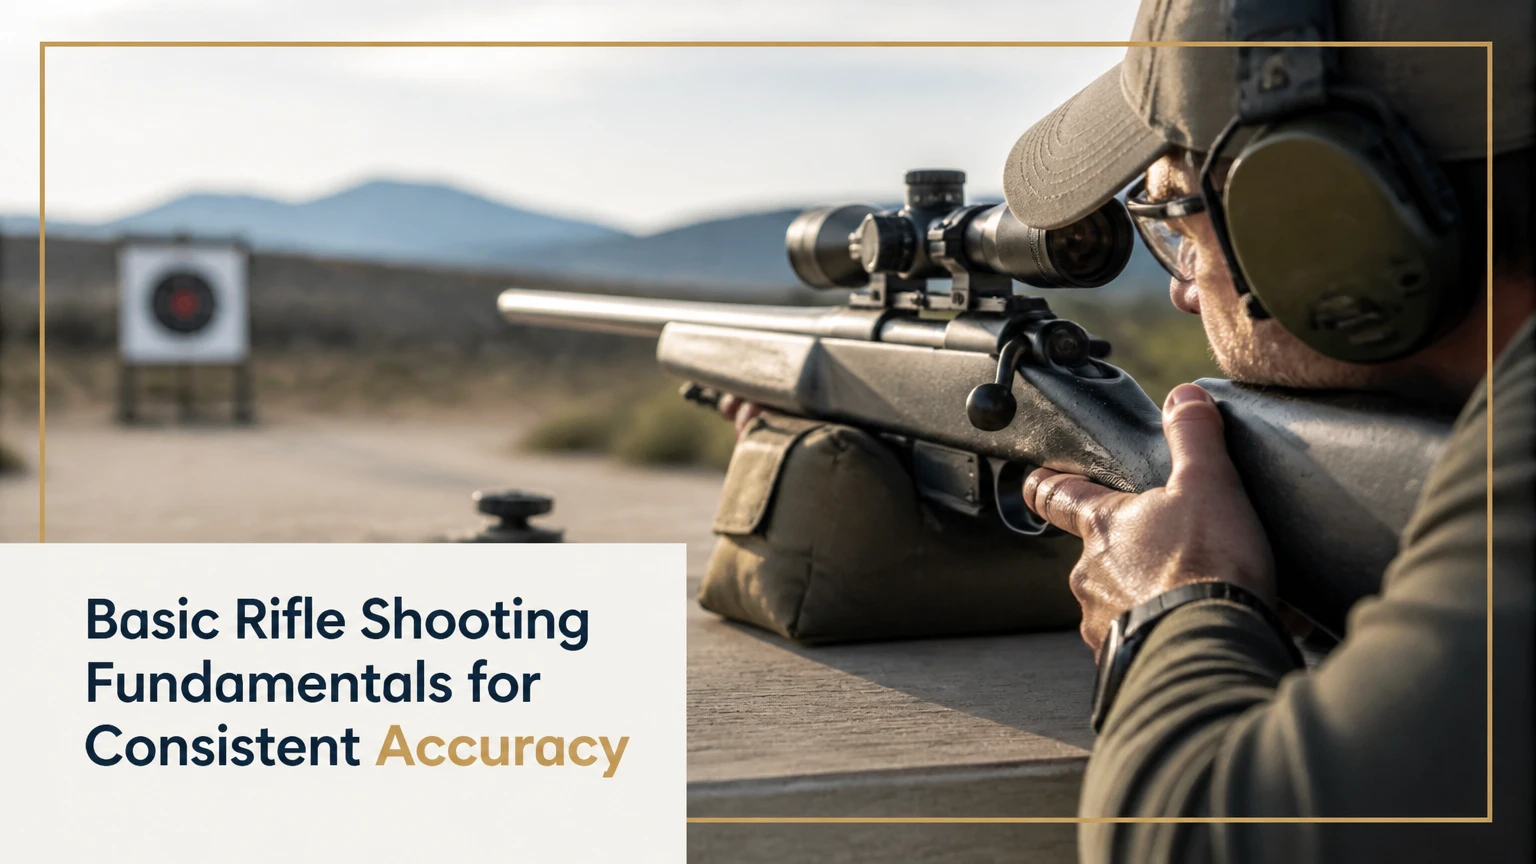
Basic rifle shooting fundamentals are the body mechanics, visual skills, breathing control, trigger manipulation, and follow-through that let a shooter fire without disturbing the rifle’s alignment. The five-part sequence is position, sight alignment and picture, breathing, trigger control, and follow-through. Safety, a stable natural point of aim, and repeatable practice determine whether those fundamentals produce consistent groups.
Key Facts at a Glance
- A rifle position is stable when bone and external support carry most of the rifle’s weight instead of tense muscles.
- Natural point of aim means the rifle returns toward the target when the shooter relaxes without forcing the sights.
- Iron sights require a sharp front-sight focus, while a scope requires consistent eye position and correct parallax adjustment.
- A smooth trigger press moves the trigger straight rearward without changing the sight picture.
- A .22 LR rifle usually provides lower recoil and ammunition cost than a centerfire rifle, making it useful for early practice.
- A group’s shape and location can reveal whether the dominant problem is aiming, trigger control, position, ammunition, or wind.
What Are Basic Rifle Shooting Fundamentals?
Basic rifle shooting fundamentals are a repeatable firing process that keeps the rifle aligned while the shooter initiates the shot. The process applies to bolt-action rifles, semi-automatic rifles, rimfire rifles, centerfire rifles, iron sights, and magnified optics, although the equipment changes the details.
The goal is consistency before precision. A tight group away from the center usually indicates a sight-zero issue; a large, irregular group usually indicates movement, inconsistent support, ammunition variation, or environmental effects. Chasing the aiming point before diagnosing group size often hides the real problem.
Safety comes first. The National Rifle Association’s basic safety guidance includes the direct rule, “Always keep the gun pointed in a safe direction.” Follow the manufacturer’s manual, range commands, local law, and an instructor’s procedures. Confirm that the rifle is unloaded before dry practice, remove all ammunition from the practice area, and use a safe direction with an adequate backstop.
Why Do Small Movements Create Large Misses?
Angular error grows with distance because a small change at the muzzle changes the bullet’s departure angle. A practical approximation is that a 1-minute-of-angle error covers about 1.047 inches at 100 yards, 3.14 inches at 300 yards, and 10.47 inches at 1,000 yards.
The often-repeated example of a 0.01-inch muzzle movement producing roughly 1 inch at 100 yards is a simplified illustration, not a universal constant. The exact miss depends on sight radius, barrel length, distance, and the direction of movement. The useful lesson remains valid: a movement that feels invisible can open a group substantially at longer range.
Newton’s first law also matters. A rifle supported by a relaxed, symmetrical position tends to remain stable, while muscles introduce tremor and fatigue. Fundamentals reduce unwanted input; they cannot compensate for a damaged scope, inconsistent ammunition, a poor zero, or a rifle that does not fit the shooter.
How Do You Apply the Five Fundamentals?
A basic rifle shooting cycle takes about 15-30 seconds at a deliberate pace. Build the position, align the sights, breathe normally, press the trigger without disturbing the rifle, and maintain the position through recoil.
Step 1: Build a Stable Position
A stable rifle position uses the skeleton, ground, bags, or a rest to support the rifle. Place the rifle’s butt firmly and consistently against the shoulder pocket, keep the head position repeatable, and use the support hand to control the fore-end without gripping harder than necessary.
For a bench or prone position, keep the rifle aligned with the body rather than twisted across it. A centered position lets recoil travel rearward. For standing, kneeling, and sitting, stack the elbows and forearms over the supporting bones so muscles do less work.
How Do You Find Natural Point of Aim?
Natural point of aim is the direction the rifle points when the shooter is relaxed and properly aligned. To check it, establish the position, aim at the target, close the eyes briefly, breathe normally, then reopen the eyes. If the sights moved away, shift the entire body or support structure instead of pulling the rifle back with muscle tension.
Natural point of aim changes with every position. A prone shooter may adjust by moving the hips or legs, while a standing shooter may reposition the feet. Forcing the muzzle sideways creates fatigue and usually causes the rifle to return toward its muscular resting direction.
Position Comparison
| Position | Typical stability | Best use | Main limitation |
|---|---|---|---|
| Benchrest | High, often 1-2 MOA for beginners | Zeroing and initial diagnosis | Does not replicate field shooting |
| Prone | High, commonly 0.5-2 MOA with a supported rifle | Precision and long-range practice | Requires ground access and a clear firing area |
| Sitting | Medium, commonly 1.5-4 MOA | Hunting over grass or uneven ground | Knee and hip geometry varies by shooter |
| Kneeling | Medium, commonly 2-5 MOA | Faster field deployment than prone | More balance-sensitive than sitting |
| Standing | Low, commonly 3-8 MOA for beginners | Short-range offhand practice | Muscle tremor and sway dominate quickly |
The ranges in the table are typical training observations, not performance standards. Rifle design, distance, wind, target size, and shooter experience change the result.
Step 2: Establish Sight Alignment and Sight Picture
Sight alignment is the relationship between the eye and the rifle’s sighting system. Sight picture is the aligned sight system placed on the target. A shooter must establish both consistently.
With iron sights, center the front post in the rear notch or aperture and keep the top of the front post level with the rear reference, unless the sight design specifies a different hold. Focus sharply on the front sight. The target and rear sight will appear less sharp.
With a scope, maintain consistent cheek contact and eye relief, the distance between the ocular lens and the eye. A black crescent or circular shadow means the eye is not positioned correctly. Adjust the stock, scope position, or cheek rest rather than leaning the head forward and backward between shots.
Scope parallax is a separate issue from focus. Parallax error occurs when reticle and target image do not appear on the same optical plane, allowing apparent reticle movement as the eye shifts. Set the parallax adjustment for the target distance when the scope provides that control, then move the head slightly while observing whether the reticle shifts across the target.
Step 3: Control Breathing Without Straining
Breathing moves the chest, shoulders, and rifle, so the shooter should breathe normally while building the sight picture. A shot is commonly taken during a brief natural respiratory pause after exhalation, usually lasting about 2-3 seconds.
Do not force the lungs empty or hold the breath until discomfort begins. If the sight picture does not settle quickly, lower the rifle, breathe normally, and restart the cycle. Extended breath-holding can produce blurred vision, muscle tension, and rushed trigger presses.
Breath control is a timing aid, not a contest. The correct pause is the one that preserves visual clarity and physical relaxation.
Step 4: Press the Trigger Straight to the Rear
Trigger control means applying pressure without changing the rifle’s alignment. Place the index finger consistently on the trigger face, commonly with the pad between the fingertip and first joint, while avoiding contact with the stock or trigger guard.
Take up any designed slack, recognize the resistance point, and increase pressure smoothly toward the rear. A well-executed press allows the shot to break without a conscious final jerk. The “surprise break” is useful when it describes an uninterrupted press, but deliberately trying to surprise yourself can also cause hesitation.
The trigger finger should move independently. Excess pressure from the firing hand can rotate the rifle, especially on a lightweight rifle with a narrow grip. Use the minimum grip force that maintains control and repeat the same hand placement for every shot.
Step 5: Maintain Follow-Through and Recover
Follow-through means maintaining the cheek weld, shoulder contact, sight focus, and trigger position through the recoil cycle. Keep the trigger depressed briefly after the shot, then allow the mechanism to reset according to the rifle’s manual and range procedure.
Calling the shot means recording where the sights were when the rifle fired. A shooter who sees the reticle lift straight up and return near the target has different feedback from a shooter whose reticle jumps sideways or loses the target entirely.
Follow-through does not influence a bullet that has already left the barrel, but it prevents the shooter from moving before the rifle has completed its recoil cycle. The practice value is substantial because follow-through exposes whether the position and trigger press were repeatable.
Which Rifle Position and Training Method Fit the Goal?
Benchrest and prone are the best starting positions for isolating marksmanship errors, while standing, sitting, and kneeling add field realism after the shooter can produce stable groups. Dry-fire develops movement control, .22 LR adds real impact feedback at low cost, and centerfire practice adds recoil and blast.
Training Method Comparison
| Method | Typical cost | Primary feedback | Best training stage |
|---|---|---|---|
| Dry-fire | $0 per session | Sight movement and trigger motion | Daily mechanics practice |
| .22 LR live fire | $0.08-$0.30 per round | Groups, impacts, cycling, mild recoil | Beginner and intermediate practice |
| .223 Remington live fire | $0.35-$1.00 per round | Centerfire recoil and practical groups | Controlled transition practice |
| .308 Winchester or 6.5 Creedmoor | $0.80-$2.50 per round | Greater recoil, wind, and long-range effects | Advanced, occasional confirmation |
Prices are typical United States retail ranges and vary by brand, location, availability, and bullet type. Dry-fire is only appropriate after confirming the rifle’s manual permits it and after removing every live cartridge from the room.
A .22 LR rifle does not perfectly reproduce centerfire trajectory, recoil, or wind drift. It does reproduce sight alignment, breathing, trigger movement, position building, and group analysis at suitable distances. That makes rimfire training efficient, but not a complete substitute for centerfire practice.
What Equipment Does a Beginner Actually Need?
A basic setup normally includes one functioning rifle, a sighting system appropriate to the rifle, approved ammunition, eye and hearing protection, a safe target and backstop, a shooting mat or stable bench, and a way to record groups. A bolt-action .22 LR with a low-power scope is often easier for beginners to diagnose because it has mild recoil and simple manual operation.
Rifle fit matters more than many beginners expect. The stock should allow a repeatable cheek weld, the length of pull should let the firing hand reach the trigger without stretching, and the butt should contact the shoulder consistently. A poorly fitted rifle can create neck strain, inconsistent eye relief, and trigger reach errors even when the shooter understands the fundamentals.
Typical Training Costs and Time
| Training item | Typical quantity | Typical cost or time | Practical purpose |
|---|---|---|---|
| Introductory class | 1 day | $150-$300 | Safety, handling, position instruction |
| Dry-fire practice | 10 minutes, 4-6 days weekly | $0 | Trigger and sight stability |
| .22 LR range session | 50-100 rounds | $5-$30 ammunition | Group development |
| Centerfire range session | 20-60 rounds | $15-$150 ammunition | Recoil and field confirmation |
| Beginner competency | 8-16 structured hours | 2-6 weeks typical | Safe, repeatable routine |
These are planning ranges rather than guaranteed outcomes. A qualified instructor can shorten the learning curve, while poor range access, recoil sensitivity, eyesight, and inconsistent equipment can extend it.
How Should You Diagnose an Inconsistent Group?
An inconsistent group usually indicates shooter movement, inconsistent support, ammunition variation, equipment problems, or environmental conditions rather than a simple aiming error. Diagnose group size first, then group location, and change only one variable at a time.
| Target result | Likely cause | First check | Corrective action |
|---|---|---|---|
| Tight group, centered away from aim point | Sight zero or hold error | Confirm zero at the same distance | Adjust sights only after confirming technique |
| Wide horizontal group | Trigger movement, cant, or wind | Watch reticle during the press | Reduce grip tension and check wind flags |
| Wide vertical group | Breathing, shoulder pressure, or elevation error | Compare respiratory timing | Rebuild position and use a consistent pause |
| Groups shift between strings | Heat, fatigue, or changing support | Record barrel temperature and position | Use shorter strings and repeat support placement |
| First shot differs, later shots cluster | Cold-barrel behavior or position change | Fire from a consistent cold-start protocol | Record the pattern before adjusting sights |
| Random flyers | Ammunition, loose hardware, or abrupt movement | Check mounts, action screws, and ammunition | Stop altering technique until equipment is verified |
A group diagnosis cannot identify every cause from a target alone. Wind, lighting, target quality, parallax, and rifle condition can produce similar patterns. Use a shooting log with distance, ammunition, group size, weather, position, and observed sight movement.
How Do You Reduce Flinching?
Flinching is an anticipatory movement caused by expected recoil, noise, or discomfort. The most reliable correction is to reduce the stimulus, use proper protection, and expose the movement through supervised dry-fire or a controlled ball-and-dummy exercise conducted by a qualified instructor.
Never improvise an unknown-loading exercise or ask an untrained person to manipulate a loaded rifle. Use inert training devices approved for the firearm, follow the range’s procedures, and keep the muzzle pointed safely. A .22 LR or air rifle can also let the shooter rebuild a smooth process without reinforcing recoil anticipation.
A flinch often appears as a closed eye, tightened shoulder, forward push, or abrupt head lift. Lowering the rifle when the sight picture deteriorates is better than forcing a shot during rising tension.
How Do You Correct Trigger Slap?
Trigger slap occurs when the shooter waits for the sight to reach the exact center and then jerks the trigger. The correction is to begin a smooth press while the sights remain within an acceptable wobble area, rather than attempting to freeze the reticle on one point.
Dry-fire can reveal the error when the reticle moves at the click. Use a safe, unloaded rifle and a stable target. A coin or empty case balanced on a safe, non-contact surface may provide a movement check, but never place an object where it could enter the bore, interfere with the action, or create a handling hazard.
How Do Fundamentals Change for Hunting and Competition?
Hunters need positions that can be built quickly from uneven terrain, while precision competitors need repeatable recoil tracking and measurement. Neither group should abandon the same core sequence of position, sight picture, breathing, trigger control, and follow-through.
A hunter should practice supported standing, kneeling, and sitting with a backpack, shooting sticks, or a stable field rest, subject to local rules and safe range conditions. The rifle must still point naturally at the target without muscular forcing. Field practice should include clothing, gloves, and realistic time limits because those factors change cheek weld and trigger reach.
A precision shooter should record group size in minutes of angle, verify scope parallax, monitor wind, and evaluate whether recoil returns the reticle toward the target. Prone practice with a bipod and rear bag can teach stable loading and recoil tracking, but benchrest results should not be treated as proof of field performance.
A standing shooter should expect more movement than a prone shooter. The goal is to manage movement and press consistently, not to eliminate every visible wobble.
What Is a Safe Practice Routine for Beginners?
A safe beginner routine can use 10 minutes of dry-fire and one 50-round .22 LR session each week. The highest-value variable is disciplined repetition, because changing rifles, ammunition, positions, and sight pictures simultaneously prevents meaningful diagnosis.
- Confirm safety and equipment. Read the rifle manual, inspect the firearm, verify the ammunition, and establish a safe backstop.
- Practice position for three minutes. Build the same bench or prone position repeatedly and check natural point of aim.
- Dry-fire for five minutes. Confirm sight movement, trigger press, breathing, and follow-through with no ammunition present.
- Fire five-shot groups. Use 5-10 groups at a consistent distance, recording ammunition and position.
- Review each group. Note sight movement and call the shot before checking the target.
- Change one variable. Alter only support, trigger finger placement, optic setting, or ammunition during the next group.
End the session when fatigue changes the position or trigger press. More rounds do not automatically create more learning.
Common Mistakes That Slow Progress
- Adjusting the scope after every group: Confirm several groups and the mechanical setup before changing zero.
- Using a death grip: Excess hand pressure can rotate the rifle and increase tremor.
- Resting the barrel on a hard support: Barrel contact can change vibration and point of impact; support the stock or approved fore-end area according to the rifle maker’s guidance.
- Ignoring cant: A tilted rifle can shift impacts, especially at longer distances and with a scope.
- Holding the breath too long: Restart the cycle when vision or relaxation deteriorates.
- Practicing only from a bench: Bench work isolates fundamentals but does not prepare the shooter for field positions.
- Mixing ammunition without recording it: Bullet weight, velocity, lot, and barrel preference can alter group location and size.
One practitioner rule is especially useful: fix the position before fixing the zero. A changing shoulder pocket or cheek weld can mimic a sighting error, causing the shooter to adjust equipment around an inconsistent firing process.
Frequently Asked Questions
Is a .22 LR rifle the best firearm for learning rifle fundamentals?
A .22 LR rifle is often the most efficient beginner trainer because ammunition is inexpensive, recoil is mild, and impacts can be observed without the fatigue associated with centerfire cartridges. A .22 LR does not reproduce centerfire recoil or long-range wind behavior, so occasional centerfire sessions remain necessary for a shooter whose goal involves a larger rifle.
How many shots should a beginner fire in one group?
Five-shot groups are practical for early diagnosis because they limit ammunition use while revealing obvious consistency problems. Ten-shot groups provide a stronger estimate of dispersion but also expose fatigue and ammunition variation. Beginners should record several groups rather than treating one small or large group as definitive.
Should the rifle be zeroed before practicing fundamentals?
The rifle should have a safe, functional preliminary zero, but detailed zeroing should follow consistent fundamentals. A shooter cannot accurately adjust sights while position, trigger control, or eye relief changes between shots. Confirm the rifle mechanically, then separate sight-zero corrections from marksmanship diagnosis.
Does a scope make rifle shooting easier than iron sights?
A scope usually makes aiming easier at moderate and longer distances because the reticle provides a clearer aiming reference, but the optic adds eye-relief, parallax, mounting, and adjustment requirements. Iron sights teach strong alignment discipline. Neither sighting system removes the need for a stable position and smooth trigger press.
How long does it take to become consistent with a rifle?
Many beginners can learn safe handling and a repeatable firing sequence in 8-16 hours of supervised instruction and practice. Consistent groups usually require several weeks of regular sessions, while advanced precision depends on distance, equipment, eyesight, wind reading, and the amount of practice. Improvement should be measured by recorded group size, not confidence alone.
The Bottom Line
Basic rifle shooting fundamentals are position, natural point of aim, sight alignment and picture, breathing, trigger control, and follow-through, all built on strict firearm safety. Begin with a stable bench or prone position, use a low-recoil .22 LR when practical, record groups, and change one variable at a time. Consistent basic rifle shooting fundamentals improve accuracy more reliably than buying equipment or firing more ammunition.


